Shaping Your Bread Dough
The shape of the dough determines the final shape of the bread, so the pre-shaping and final shaping should be carried out carefully according to the dough’s properties. The shaping of wheat dough requires more attention because, unlike rye dough, the surface has to be tensioned.
Many bread errors like:
- Large cavities
- Bubbles on the ends
- Blow outs
- Uneven pores
- Irregular crumb color
have their root cause in inadequate shaping. Especially with wheat dough, the shape of the dough pieces must be very tight. In doing so, especially with very soft doughs, not too much flour should be worked into the dough.
The shaping of breads is divided into round shapes and elongated shapes.
Working Round
It is common for some of the fermentation gases to be pressed out of the dough before the actual shaping. This results in significantly more pores and the structure of the wheat dough becomes firmer.
Reasons for working into rounds:
- Degassing
- Increased pores in the dough and thus more even pores in the final baked goods
- Achieving a more even crumb structure
- Improved balance in the dough
- Increase in volume
Errors when working into rounds:
- Too little tension leads to an irregular pore structure and cavities.
- Too much dusting flour leads to an irregular crumb color, poor cohesion and a dry crumb in the bread.
- Too much tension leads to a cracked, rough surface on the surface of the baked goods.
Elongating the dough
After an intermediate proof, the rounded loaves are shaped again. The beginning of the elongated shaping starts with turning over the rounded loaf so that seam side is now up. This side should be more moist than the upper surface that has dried somewhat. The dough is then pressed flat, and then a piece from the outside is folded in and pressed with the ball of the thumb. This is repeated again until you reach the other side of the dough and it has taken on a cylindrical shape.
In order to get the desired length, the cylinder is lengthened by rolling whereby the seam side is not disturbed and the tension in the surface is maintained.
Errors when elongating:
- Too short of an intermediate proof leads to too much pressure being required during the shaping.
- Too much dusting flour increases the risk that the seam can burst during shaping or baking.
- Uneven shaping leads to an uneven crumb structure and possibly large cavities.
- Not rolling the dough out enough can lead to open pockets in the crumb structure.
- Too much pressure on the ends when rolling out can lead to the tips drying out or even burning during the bake.
After shaping, the dough is prepared for the final proof. This is done by:
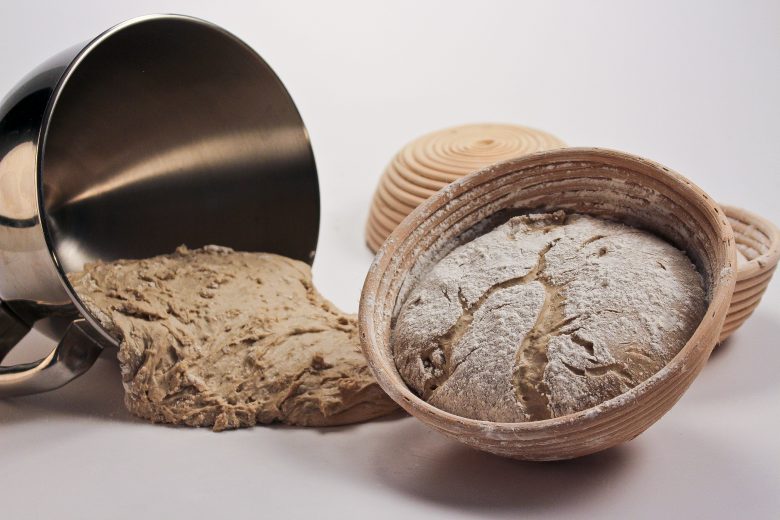
- Placing in a bread basket made from synthetic or wicker material
- Free formed onto proofing trays or wrapped in cloth
- Placing into a form (frames)
- Placing onto a baking peel
The firmness of the dough is matched to the fermentation conditions. Doughs that tend to spread are baked in molds to stabilize the shape. When baking in a mold, the dough can be made softer (higher TA).