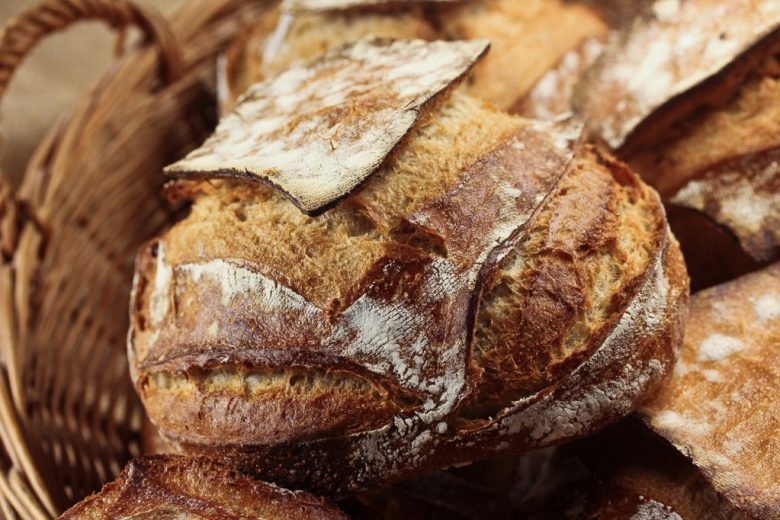
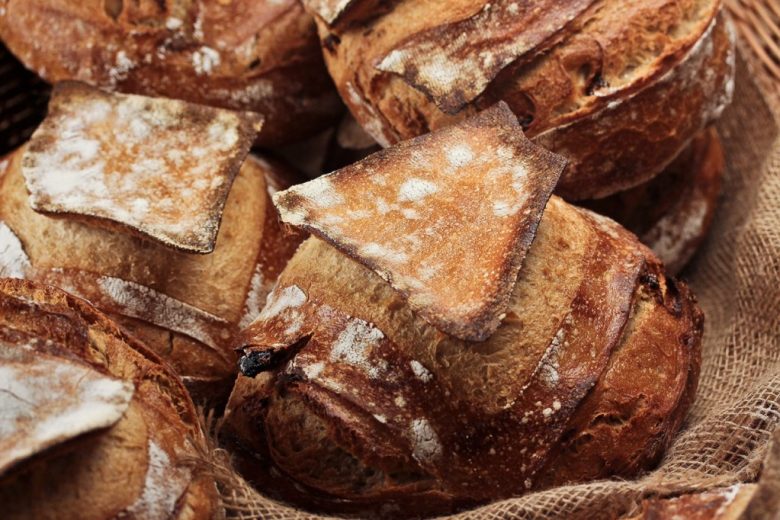
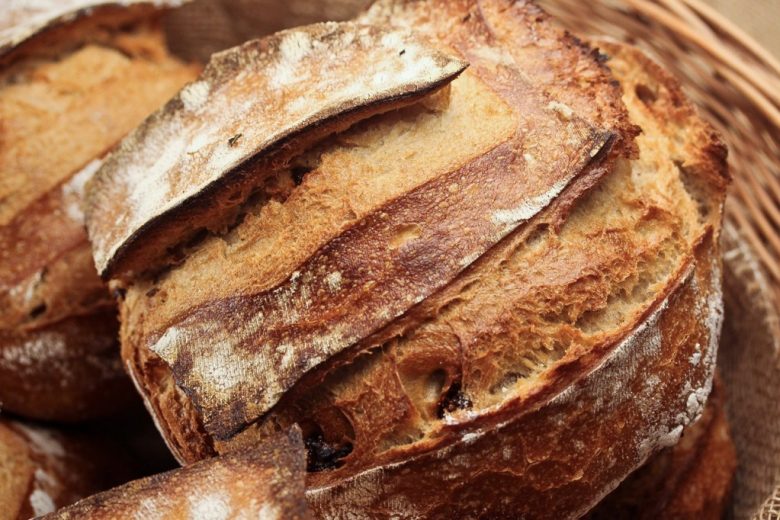
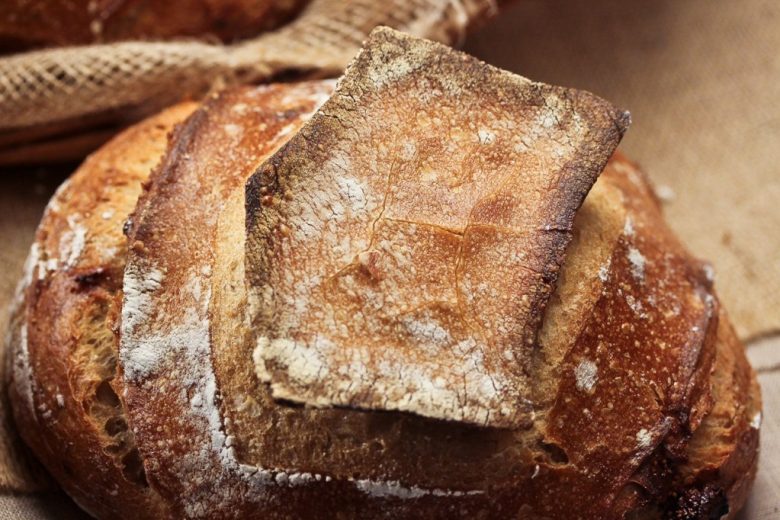
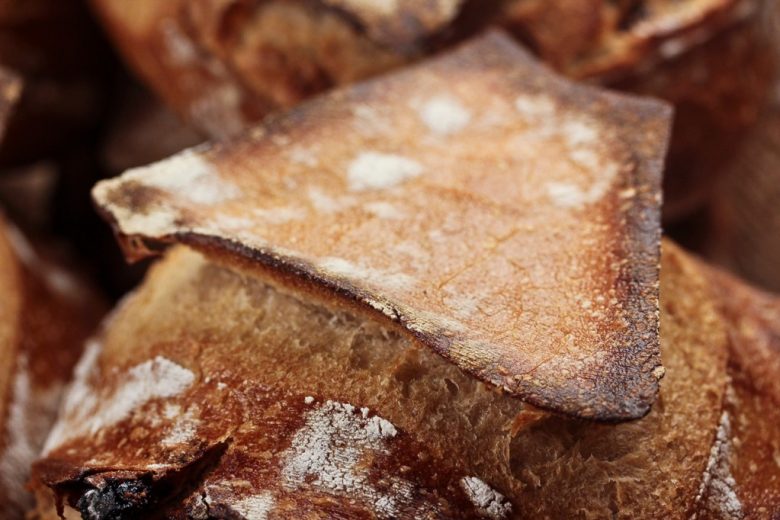
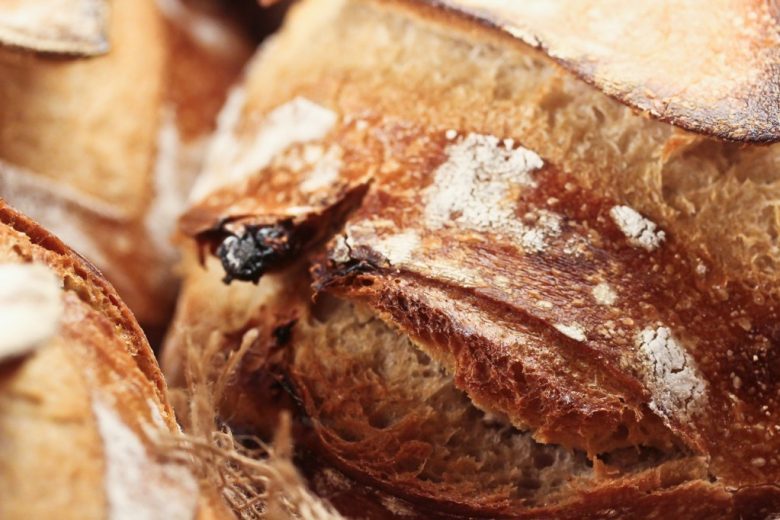
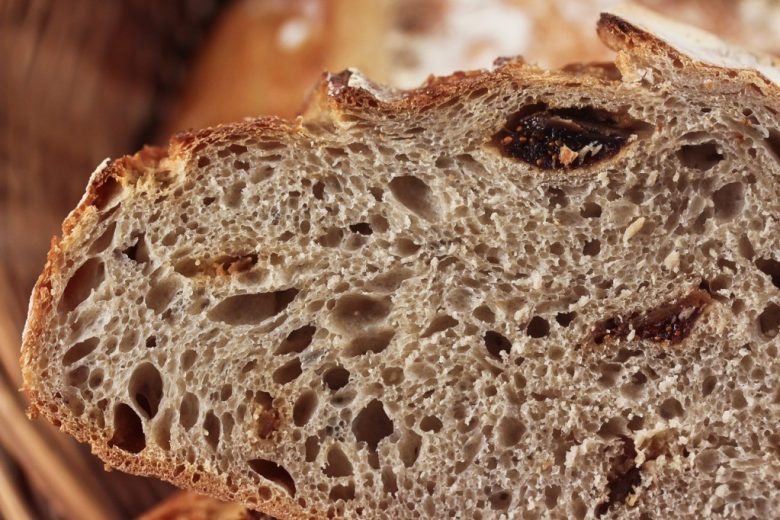
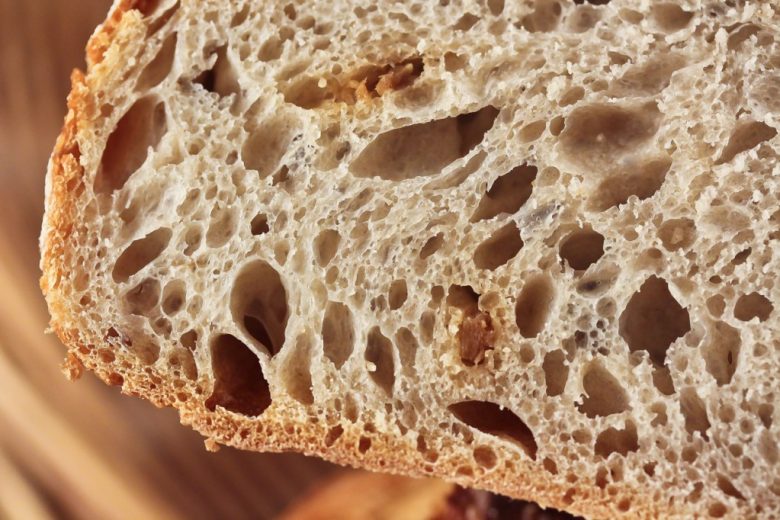
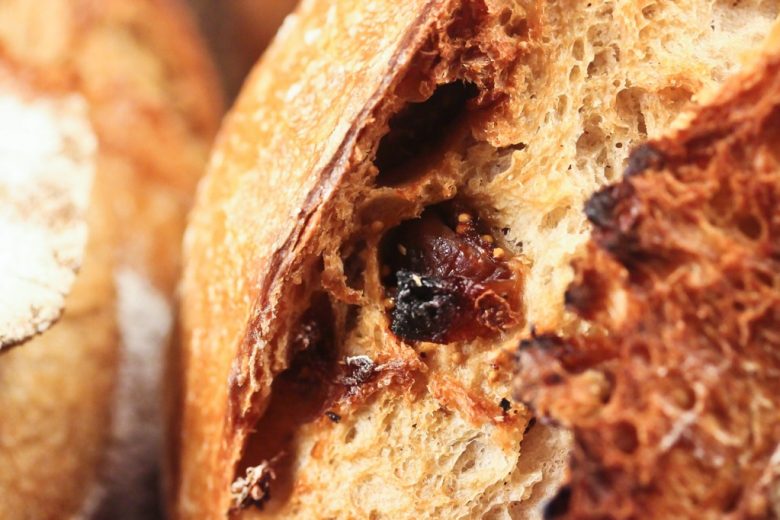
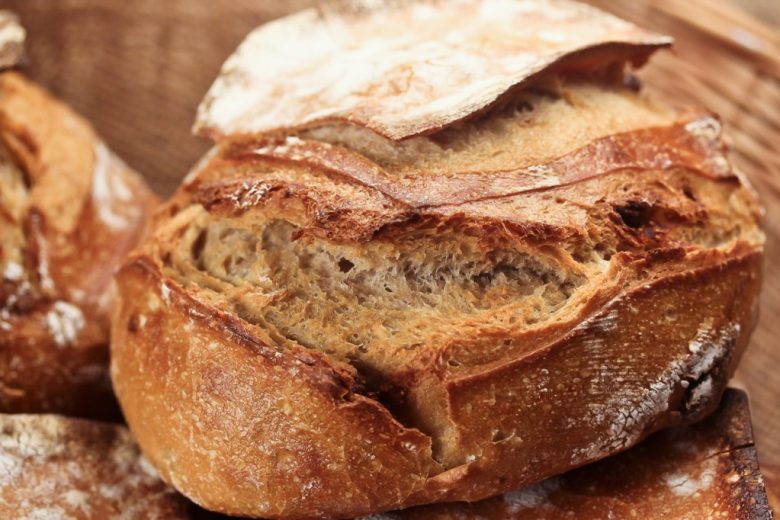
Fig Bread
Sensory experience makes the master!
In spite of excellent kneading machines, human sensors are irreplaceable when it comes to determining the precise moment of optimal kneading. You need a good eye and a lot of experience during the first mixing phase in order to decide in good time whether the dough still needs water. Delayed addition of water lengthens the kneading process, leads to undesired dough heating and inevitably leads to a loss in the quality of the end product.
If the dough releases from the side of the bowl, this is a signal that the swelling is largely complete. If the dough starts to “chuckle / smack” this is an unmistakable indication of the final formation of the gluten strands. When the surface becomes dry, pliable and smooth, the dough will soon reach its optimal kneading status.
The manual gluten test:
To do this, take a 100g piece of dough and pull the dough up into a thin film between your fingers. Only when you can read the capital letters in a newspaper through it, is the gluten structure fully developed and thus the development of the dough is complete – at least from the point of view of the kneading process.
Care and accuracy are required when using a kneader, mistakes are unforgiving and are returned in the form of squat bread!
Practical tips for controlling the kneading process:
- With today’s high-gluten flours, there is more of a risk of under kneading the dough. The consequences: a poorly developed gluten structure impairs fermentation stability (low fermentation tolerance), poor gas retention capacity and ultimately a small volume (mostly small shape and no prominence).
- Knead soft doughs a bit longer, firm dough correspondingly shorter. Weiche Teige etwas länger kneten, feste Teige entsprechend kürzer. They put up more resistance to the kneading tool and also warm up faster.
- Don’t overfill the mixer: Over filling leads to a faster warming of the dough due to the greater resistance.
Practical tips for sensory dough evaluation:
- If the kneader “squeaks” at the beginning of the kneading phase, it is usually too late: Corrections to the bulk water dosage must be made quickly. Experience is required, as the dough will weaken and become softer as the kneading process continues.
- When the dough “chuckles”, releases from the side of the bowl and has a smooth, dry surface, it has reached its optimum kneading state.
- The resistance of the dough gives information about the correct firmness when pressed with the hand.
Sensory evaluation of over kneading:
- The dough sticks to the side of the bowl again.
- The surface of the dough begins to shine (the dough structure expresses the bound water)
- When the optimal kneading is reached, so-called waves form around the kneading arm on the dough surface – these disappear as the kneading increases!
- Dough temperature is too high
- The dough tends to “flow” after kneading and shows no stability on the proof.
Recipe
For a dough weight of 955g / 2 pieces, each 478g of dough
Poolish:
- 50g Wheat flour Type 700
- 50g Water (20°C)
- 0,5g Yeast
Maturity time: 15 hours at 5°C in the refrigerator Hydration(TA): 200 DT: 20-23°C
Wheat sourdough:
- 95g Wheat flour T80
- 95g Water (40°C)
- 10g Starter
Hydration(TA): 200 DT: 30-32°C Maturity time: 15 hours
Main dough:
- 101g Mature poolish
- 200g Mature wheat sourdough
- 350g Wheat flour T80
- 230g Water
- 12g Salt
- 2g Yeast
- 60g Soaked, chopped figs (alternative: prunes, soaked dried pears or mixed!)
Mixing time: 7 minutes slowly/ 5 minutes fast DT: 24-26°C Hydration(TA): 175
- Knead all ingredients except the figs on slow speed for 7 minutes and then mix quickly for 5 minutes.
- Before the figs are added, first weigh out an 80g piece of dough to use later in the work up. Now the figs (dried fruits) are slowly mixed in.
- Let the dough mature for 40 minutes in the mixing bowl.
- Divide the 80g piece of dough into two equal-sized pieces and roll flat with a rolling pin.These flat pieces of dough are placed into floured proofing basket.s
- Take the main dough out of the kneading bowl, divide into two equal-sized pieces and place on top of the flat pieces of dough with the seam-side up.
- The shaped doughs are left to rise for a further 15-20 minutes at room temperature and then placed in the refrigerator at 4°C to proof.
- The duration of the cool proof amounts to 8 hours (if you want to prolong the cold proof, the rise after shaping the dough must be reduced to 5-10 minutes!).
- Before the breads go in the oven, they are scored down the side with the knife as desired (takes the tension off the dough when for the oven spring and provides an additional crust)
- The fig breads are baked at 250°C with strong steam.
- REduce the oven temperature to 210°C after 10 minutes of baking time and bake until well browned (baking time: 40-45 minutes).