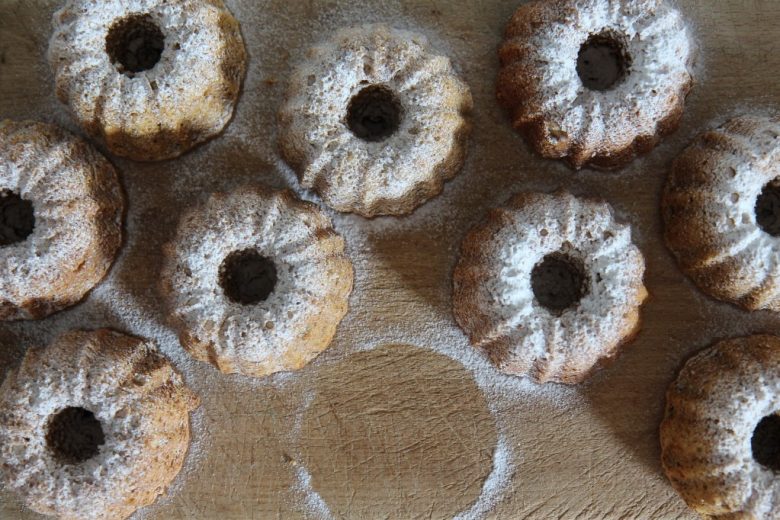
Carrot Cake
“Bake me a cake as fast as you can…”
Whoever wants to bake well has to have some know-how when it comes to measurements, creams and glazes. Baking offers double the fun, because it rewards the baker with sweet and savory delicacies and also lets them get creative with ingredients and recipes. Sweet flour-based goods provide additional fascination in that they are similar to a detective story that keeps up the suspense until the very end.
Even when a well-made dough is in the oven, everyone still worries about whether the cake will rise nicely, the crust will form as desired and the cake or tart will come out of the baking form intact.
Food processor/mixer
When it comes to food processors/mixers, the choice seems endless. If you’re trying to orient yourself in this mechanical jungle, this link can help you with your selection.
Preparing and caring for baking forms
If a metal baking form has a scratch-proof coating, it can be handled just like a silicone form. Do not use a rough sponge or a hard brush when cleaning it, as these can damage the surface, making it harder to remove the cake from the form. Metal baking forms without coatings are even more complex to deal with! They have to be coated with fat before being used and potentially sprinkled with flour and crumbs.
For sponge cake and similar substances, only the base of the form should be oiled and floured, leaving the sides clean (this allows the delicate filling to rise more easily). Just-baked cakes/tarts should cool for a few minutes in the form. They are finally loosened by running a knife along the inside edge of the form.
To allow for complete cooling, the cake is removed from the form (this allows it to give off steam). Modern silicone forms do not need a layer of fat or baking paper, since the flexible material doesn’t allow the batter or dough to stick. The form can simply be pulled off the finished product. After being used, the silicone form needs to be rinsed and left to dry (some are even dishwasher-safe).
Creamed batter or shortcrust?
The secret to success here is room temperature: It’s only when butter and eggs are at this temperature that they can be perfectly mixed together with other cake ingredients.
Foamy batters (whipped eggs with low fat content):
Fat, sugar and eggs are mixed with flour, potentially also starch and flavor-providing ingredients (e.g. nuts, cacao, pieces of chocolate…). All ingredients for foamy batters must have roughly the same temperature, otherwise the mixture will run and the sponge cake will not be fluffy enough. You should therefore take the fat and eggs out of the fridge 3 hours before you want to use them.
There are two types of creamed batter (high fat content), “light” and “heavy”:
The latter is a fat, sugar and egg-heavy substance in which the quantities of the main ingredients — eggs, butter, sugar and flour — roughly all weigh the same. In contrast, the former contains less fat and sugar in comparison to flour and eggs. Hobby bakers mostly use this “light” batter to make marble cakes, spice cakes or fruit cakes. The “heavy” batter is used for pound cake, German spit cake (“Baumkuchen,” literally “tree cake”) and nut cakes; it makes them moister and keeps them fresher longer.
With or without baking powder?
Baked goods made with a light batter only have whipped eggs added to them to make them fluffy. Heavy batters also call for baking powder. The quantity must be precisely calculated, since too little baking powder leads to an insufficient rise and a dense crumb. In contrast, too much baking powder causes large amounts of carbon dioxide to form, which makes the dough rise quickly but then collapse before baking ends; the cake caves in and water streaks appear inside (fatty areas!).
If the use of baking powder in a heavy batter needs to be avoided, e.g. for taste reasons, then the two-bowl method can be used as a replacement: Egg yolks and part of the sugar are beaten together in one bowl while egg whites and the rest of the sugar are beaten in another. The egg yolks should become foamy while the egg whites should become fluffy and form peaks. The beaten egg whites are then carefully added to egg yolk mixture, followed by flour, starch and flavor ingredients.
Especially in the last two steps, it is important to avoid overmixing since this minimizes the batter’s volume and subsequently the oven rise.
Test for doneness!
Shortly before the end of the baking time, it’s a good idea to check a cake or tart to see whether it is done. Professionals touch the surface with a finger. This so-called touch test requires a certain degree of baking experience, however. An easy and safe method that is preferred by many hobby bakers to test for doneness is the toothpick test.
1. For the touch test used by professionals, you press the cake surface with your fingertips. If the cake or tart is done, you will feel an elastic resistance. If it isn’t done, the surface will feel soft and will be easy to push down.
2. For the toothpick test, stick a toothpick (or something similarly thin) into the tallest part of the cake and then take it out again. If any batter remains on the toothpick, then the cake is not yet done. In general, you should not completely remove a cake from the oven to test it for doneness. The shock of the cold could cause the collapse of delicate substances that are not yet entirely baked through. If the toothpick test shows that the cake is done, you can take the form out of the oven and let everything cool for a few minutes, allowing the crumb to stabilize. Only then should you carefully take the cake out of the form and place it onto a cooling rack, removing any parchment paper as needed, and let it cool entirely.
Recipe
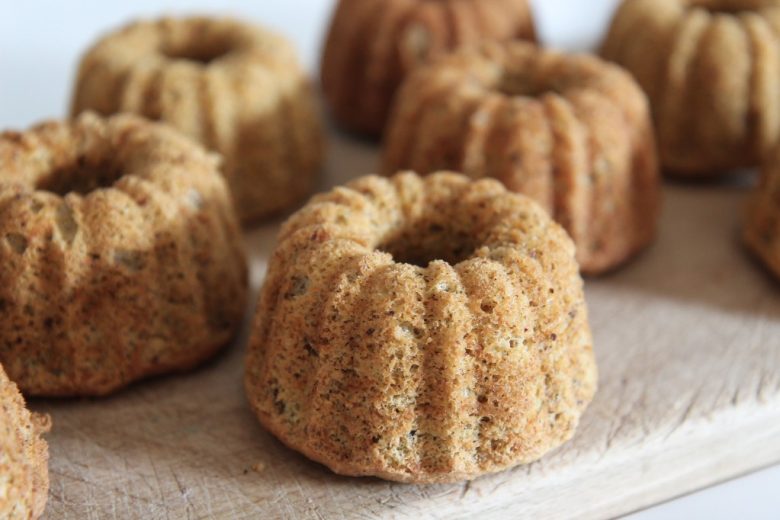
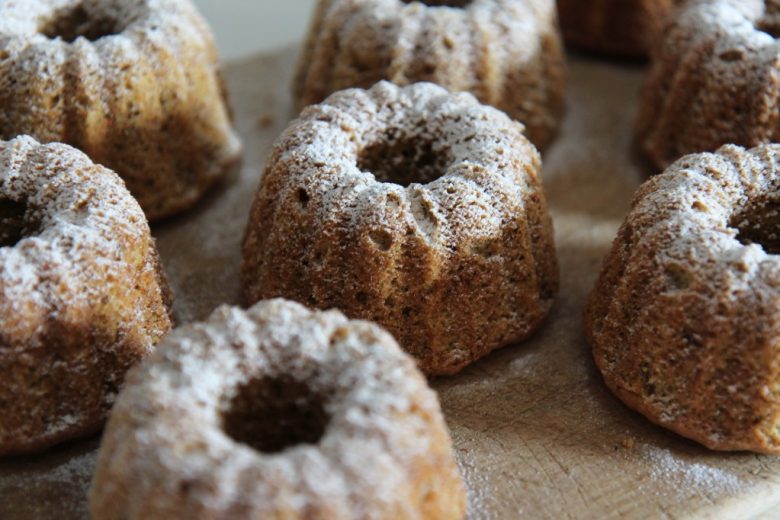
For 12 carrot muffins (c. 9x6cm)
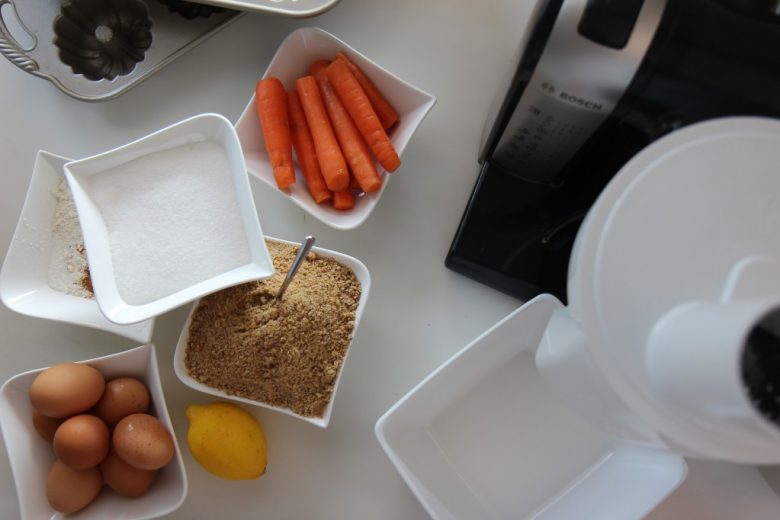
Ingredients:
- 7 whole eggs
- 240g granulated sugar (2x120g)
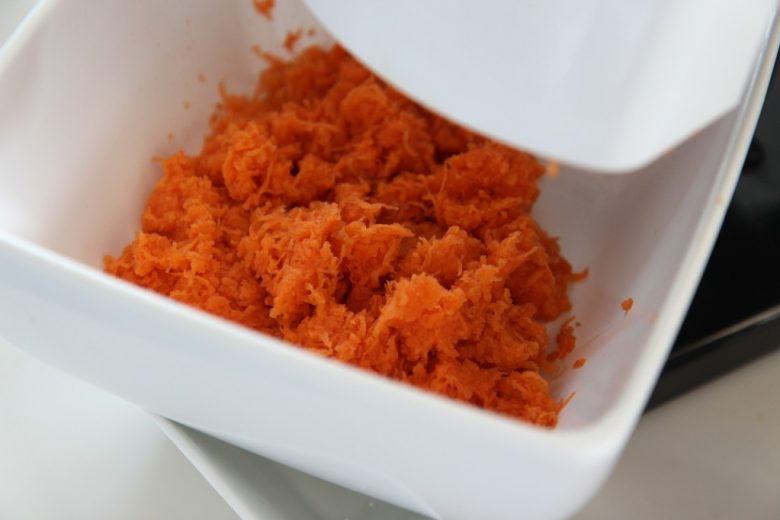
- 300g finely grated carrot
- 300g finely ground/roasted hazelnuts
- 80g coarsely chopped/roasted hazelnuts (2-4mm)
- 90g wheat flour type 700 or 480
- 1g cinnamon
- A little lemon zest
Instructions:
- Mix carrots and both types of hazelnuts with flour and cinnamon.
- Separate the egg yolks and whites (put the yolks into the mixing bowl).
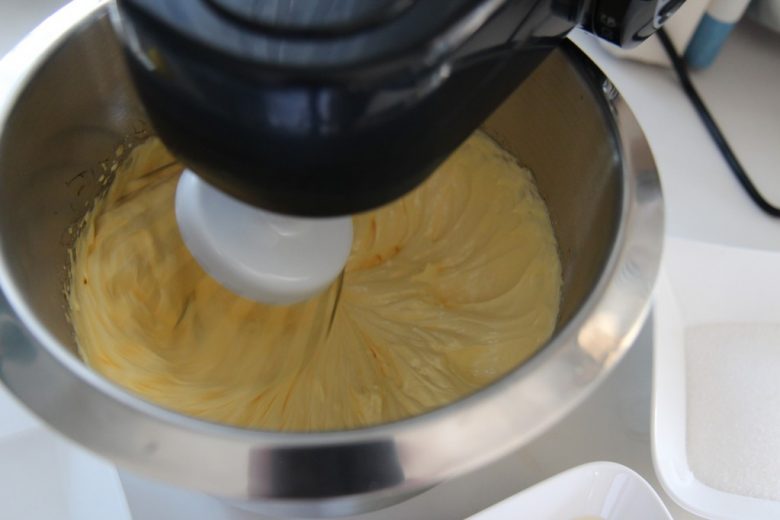
- Mix the egg yolks with 120g of granulated sugar until foamy (medium speed).
- Remove the egg yolk mixture from the mixing bowl and then rinse the bowl with hot water until clean.
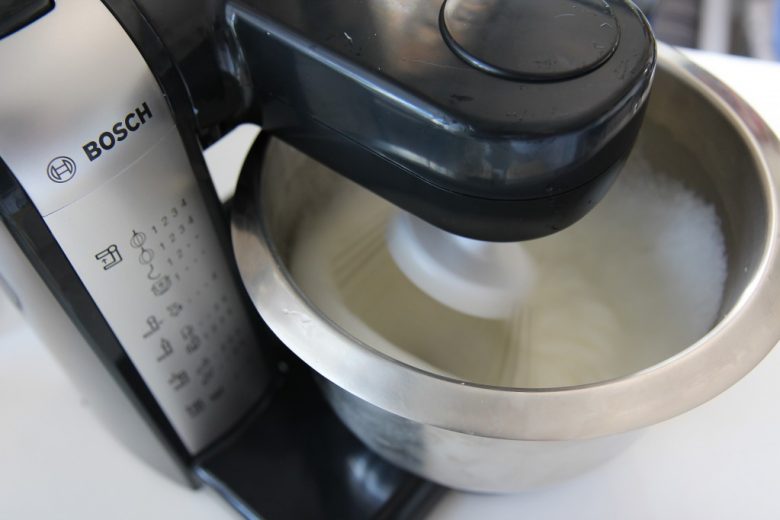
- Beat the egg whites with the rest of the sugar until it becomes fluffy and forms peaks. (CAREFUL: DO NOT OVERBEAT!)
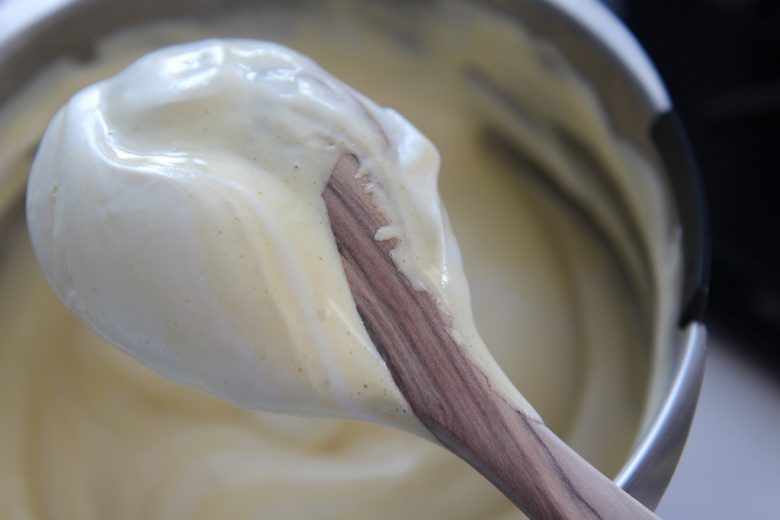
- As soon as the egg whites are fluffy, carefully mix in the egg yolk mixture.
- Just before you have entirely incorporated the egg yolk mixture into the egg whites (see photo in the photo gallery), carefully add in the nut-flour-carrot mixture.
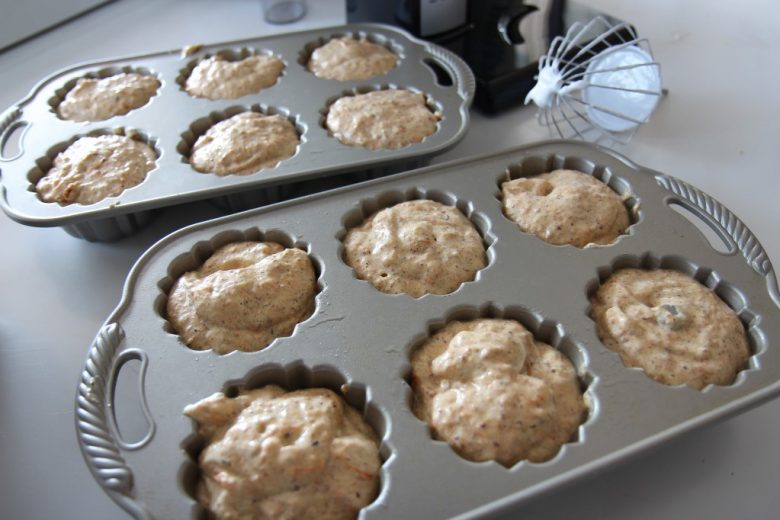
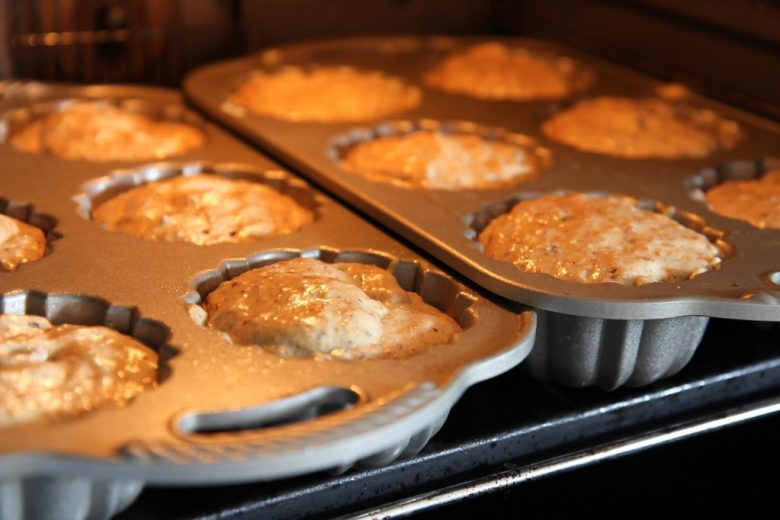
- Place the mixture into a prepared baking form and bake at 200°C (no convection) for c. 16-17 minutes.
- After baking, let the cake stand for 5 minutes, only removing it from the form after this short cooling period. To make the muffins more moist, cover them with plastic wrap immediately after removing them from the form! This will cause them to sweat and retain an enormous amount of moisture!